Menu screens
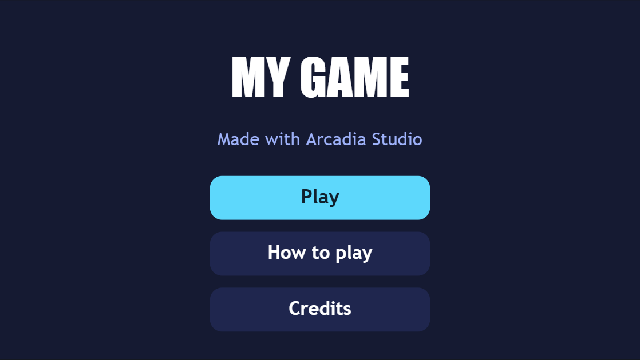
Every game needs a way in. This template is a title screen with three buttons, Play, How to play and Credits. Each one opens its own screen, and each of those has a Back button. Music plays the whole time, and every button clicks when you press it.
There's no code in this project. Everything is done with screens, buttons and actions. It's the best place to start if you've never used Arcadia Studio.
What you'll learn
- Making a project and its screens, and choosing which screen comes first.
- Adding controls (a background, labels, buttons) and changing how they look.
- Giving a button an event (
click) and actions that happen when it's clicked: play a sound, then open another screen. - Making a sound effect and a little song, and playing music across screens.
Glossary
| Word | What it means |
|---|---|
| Project | Your whole game, saved as one .arcadia file. |
| Screen | One page of your game: the title, the menu, a level. Only one is on show at a time. |
| Main screen | The screen your game starts on. |
| Control | Anything you put on a screen: a Label, a Button, a Panel, an Image… |
| Toolbox | The list of controls at the top left. Drag one onto the canvas to add it. |
| Properties | The panel where you change the selected control: its text, size, colours and so on. |
| Event | Something that happens to a control, like being clicked (click). |
| Action | Something the game does when an event happens: play a sound, open a screen, show or hide a control. |
| Sound ID | The name of a sound in your project, like menus:click. |
Rebuild it from scratch
1. Make the project
- Click File → New project (Ctrl+N), type the name
Menu screens, and in Project settings set the Id tomenus. Click Apply. - Open Project → Project settings… and set Made for to Web & desktop only, because this is a game for the web.
2. The title screen
Your new project already has one screen.
- Above the canvas, click Screen settings. In Properties, set the Screen ID to
titleand press Enter. - Set Width to 320 and Height to 180. Tick Main screen, so the game starts here.
Now add the controls. From the Toolbox (top left), drag each one onto the canvas, then set its Id under Identity in Properties:
- A Panel called
background. Make it fill the screen: X 0, Y 0, Width 320, Height- Give it a dark Fill color (the template uses
#151A33).
- Give it a dark Fill color (the template uses
- A Label called
game_name. Set its Text toMY GAME, Alignment to center, and **Size scale to about 2.8. Pick a bold Typeface such asweb:display, and untick Fill enabled** so the background shows through. - A Label called
taglinewith the textMade with Arcadia Studio, in a softer colour. - Three Buttons:
play(textPlay),how_to_play(How to play) andcredits(Credits). Make them the same size (110 × 22) and line them up down the middle. Giveplaya bright **Fill color so it stands out, and the other two a quieter one. Corners → Radius** 6 rounds them off.
Tip: set up one button, then press Ctrl+D to duplicate it. You only change the copy's Id and text.
3. Three more screens
- Click New screen above the canvas, three times. Name them
howto,creditsandplay(Screen settings → Screen ID), each 320 × 180. - On each one, add the same dark
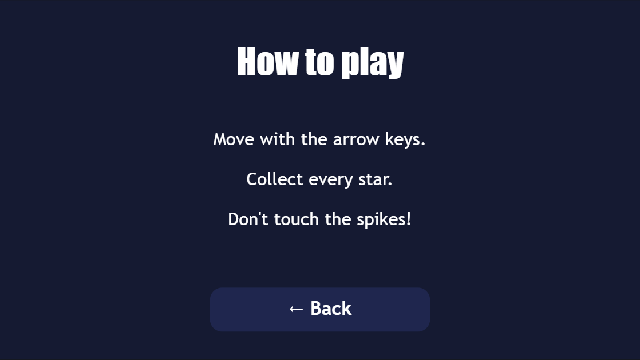
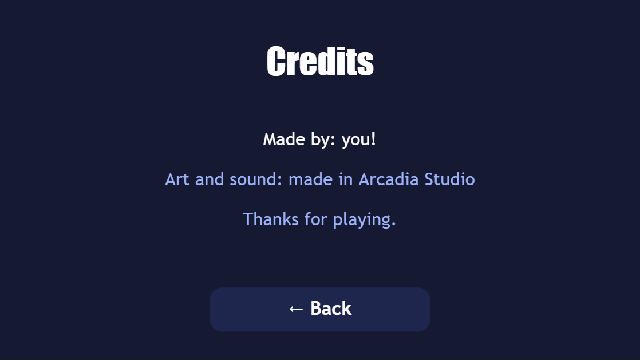
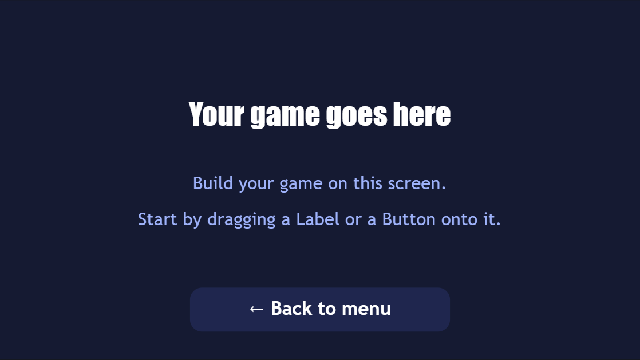
backgroundpanel and a bigheadinglabel:How to play,CreditsandYour game goes here. - Add a few smaller labels with the text you want (
line1,line2,line3). - Add a
backbutton at the bottom, with the text← Back.
You can copy the background and a button from the title screen (Ctrl+C), switch screens with the dropdown above the canvas, and paste (Ctrl+V).
| How to play | Credits | Play |
|---|---|---|
 |  |  |
4. A click sound and some music
- Open Project → Sound effect maker…. Click Blip, name it
clickand click Save. Its sound ID ismenus:click. - Open Project → Music maker… and make a short tune. Tick Loop and save it as
menu_music. Or skip this step and use the song from the template.
5. Make the buttons work
This is the important part. Select the play button on the title screen and open the Events tab (next to Properties). Pick the click event, then under Client:
- Click + Add action, set Type to
play_soundand choose the soundmenus:click. - Click + Add action again, set Type to
open_ui, and set Value toplay. That's the ID of the screen to open.
Do the same for the other buttons:
| Screen | Button | Actions on click |
|---|---|---|
title | play | play_sound menus:click, then open_ui play |
title | how_to_play | play_sound menus:click, then open_ui howto |
title | credits | play_sound menus:click, then open_ui credits |
howto, credits, play | back | play_sound menus:click, then open_ui title |
6. Music on every screen
- Drag a Sound control onto the title screen and call it
music. - In Properties, set Sound to
menus:menu_music, and tick Autoplay and Loop. Turn the Volume down a little. - Copy the
musiccontrol and paste it onto the other three screens.
When the next screen has a Sound control playing the same looping song, the song carries on from where it was instead of starting again.
7. Try it
Press Preview (F5) and click around. Every button should click and take you to its screen, and Back should always bring you home. Save with File → Save (Ctrl+S).
How it works
- One screen at a time. A screen is like a page.
open_uiswaps the page, and the new screen starts fresh, just as you designed it. - Actions run in order. The click sound starts first, then the screen changes. Try swapping them to see the difference.
- The Main screen is where your game starts. Only one screen can have Main screen ticked.
- Music that carries on. Each screen has its own
musiccontrol, but because they all play the same looping song, the song continues through screen changes.
Make it yours
- Change
MY GAMEto your game's name, and the colours to match its style. - Add a Settings screen: one more screen, one more button, and one more
open_ui. - Put your game on the
playscreen. The Star clicker template is a good next step. - Draw a logo in the Pixel editor and add it to the title screen as an Image.